How To Clean Your Vinyl Flooring
Durable, attractive, and cost-efficient, vinyl is one of the most sought-after flooring options on the market. Renowned for its beauty and ability to mirror the look of more expensive materials like hardwood, vinyl is a fantastic flooring option for homeowners looking to add some style and sophistication to their homes.

Because it’s both low maintenance and resilient, opting for vinyl in your home means that your flooring will look great for years to come with minimal effort required. However, a little tender loving care can go a long way in ensuring that your vinyl flooring effectively withstands the test of time.
This post will highlight the top tips and tricks for cleaning your vinyl flooring so that it looks as good in ten years as it did the day you had it installed.
Sweep/Vacuum/Dust Your Vinyl Floors
The first step to ensuring your vinyl floors age well is to provide them with a light cleaning every day, or every few days, depending on foot traffic. By doing this, you are helping eliminate dirt, dust, and other debris that can cause scratches and scrapes on your vinyl flooring.
A broom or dust mop is an effective way to get this done, though a vacuum works as well. However, if you elect to vacuum instead of sweep, ensure that your beater bar is not harming the tile floor.
Deep Clean Your Vinyl Floors
Much like with step one, how often you deep clean your vinyl floor will depend on the amount of foot traffic and stress your flooring takes. With that said, deep cleaning your vinyl floors every week or two will help best preserve their beauty.
What exactly does deep cleaning entail? Well, it’s relatively simple. First, you’ll want to select a cleaning product for your vinyl floor. Some opt for a simple apple vinegar solution, while others go the store-bought specialty route. Ultimately, the choice is yours, but be aware that if you decide to go with the ever-popular dish soap route that it can harm the finish of your floor and leave a film-like look for days after cleaning.
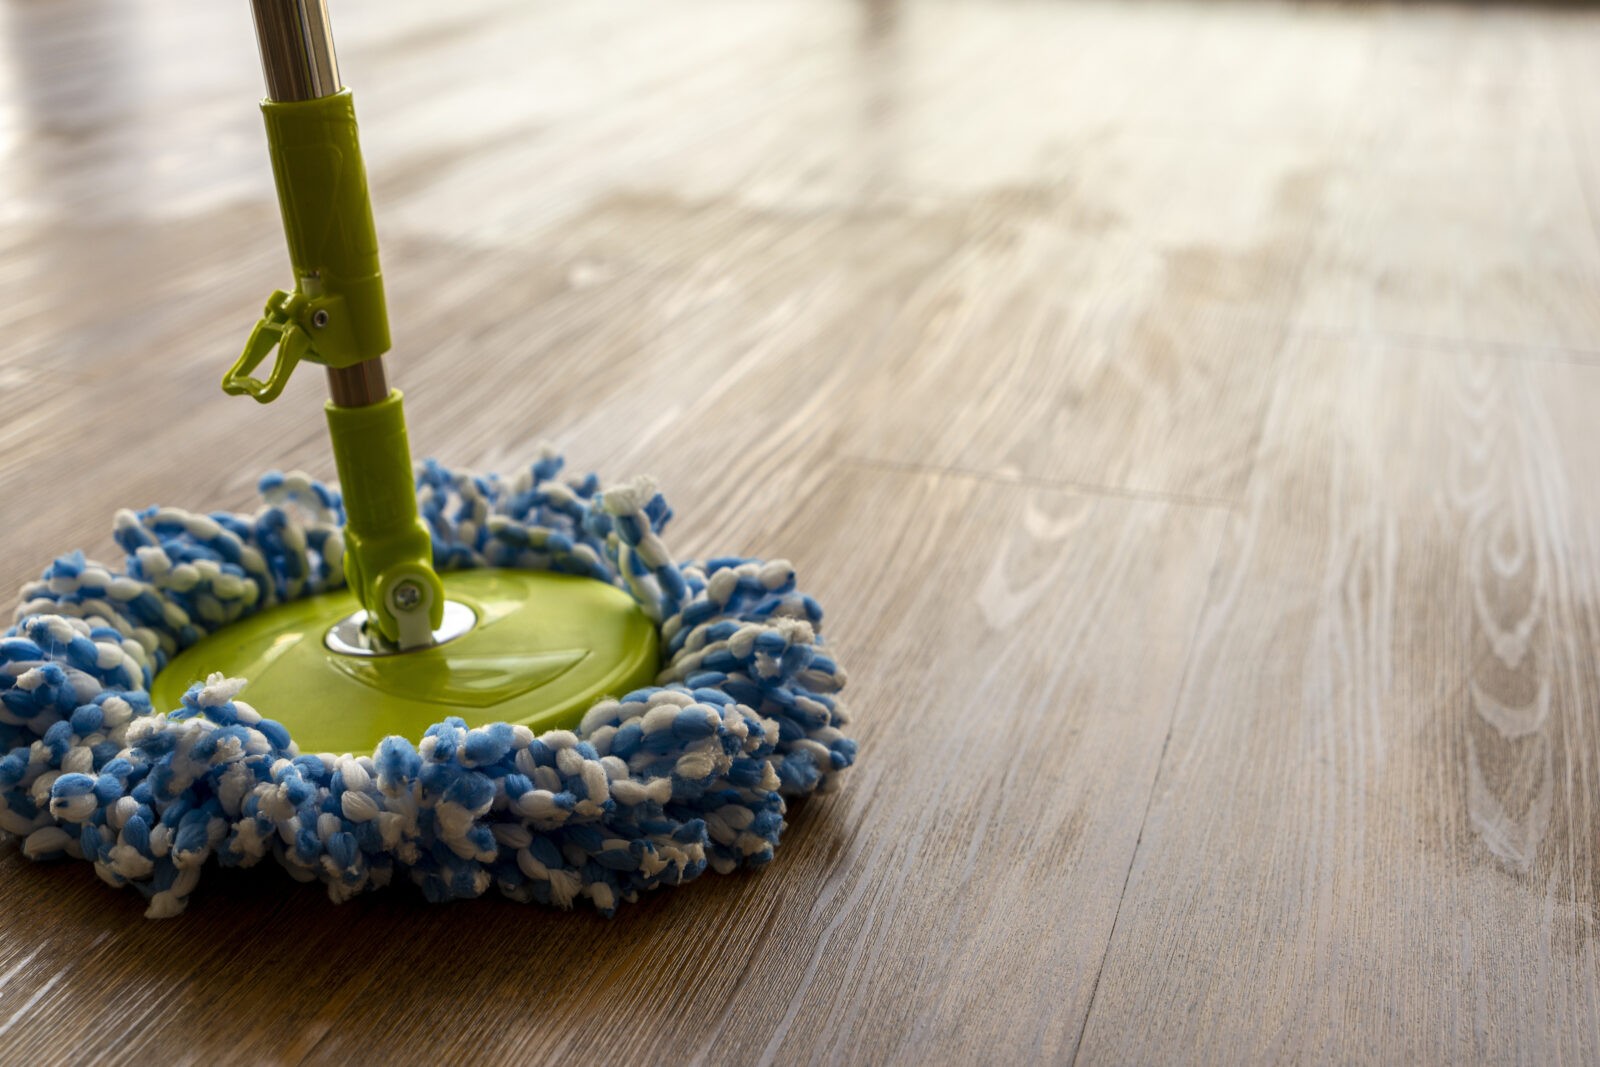
Once you have selected your cleaner, it is time to begin mopping your vinyl floors. While vinyl flooring does have waterproof qualities, it is not entirely waterproof, so you want to make sure you are not using too much water when mopping. When your water begins to look dirty in your mop bucket, replace it with clean water and continue on your way.
Rinse Your Vinyl Flooring
To avoid having a sticky film on your floor after mopping, you’ll want to rinse your vinyl after mopping. Do so by putting clean water into your mop bucket and going over the floors a final time.
Once finished, you can dry the floor with a dry cloth or towel and marvel at the beauty of your vinyl floors!
Cleaning Your Vinyl Flooring
By establishing a care and maintenance routine for your vinyl floor, you can help to ensure that it stays looking its best for years to come. With its inherent durability, beauty, and reasonable price tag, it’s no wonder vinyl flooring has become the go-to choice for homeowners looking to update their flooring while on a budget.
Interested in learning more about care and maintenance for your vinyl floors or perhaps shopping our extensive selection of vinyl flooring? Contact us today to learn more!


