
Tips on Laying Laminate Flooring in Rooms with Large Windows
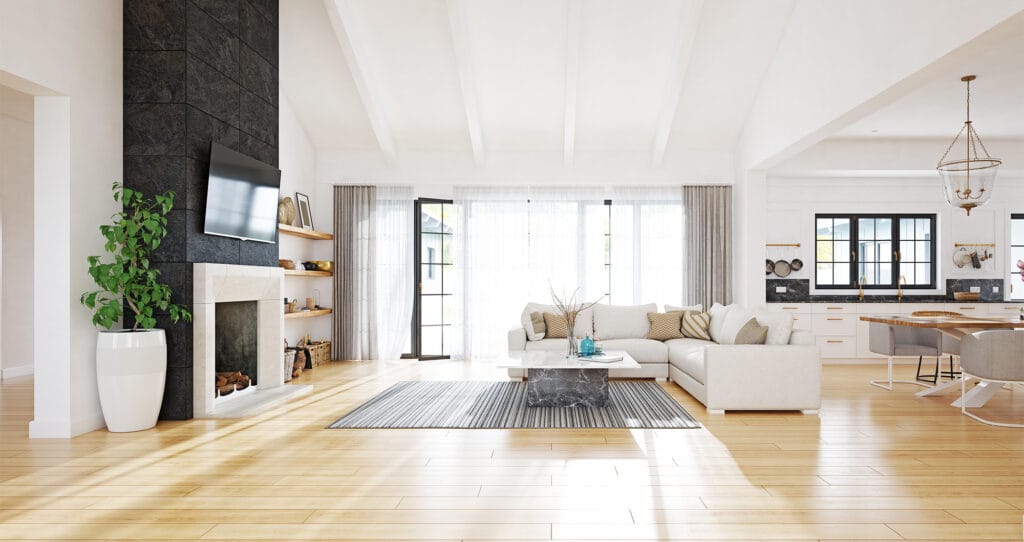
When you walk into a room with a massive floor-to-ceiling window or a wide sliding glass door, your eyes are immediately drawn to the view—and the light. At Flooring 101, we know that these architectural features are the crown jewels of California homes. However, large windows also pose a unique design challenge: they act as a spotlight for your floor.
How you lay your laminate in relation to that light source can be the difference between a floor that looks like a seamless masterpiece and one that looks “choppy.”
If you’re tackling a renovation in Oxnard, Ventura, or Santa Barbara, here is our professional guide to installing laminate flooring when you have a large window as your focal point.
Which Direction to Lay Your Laminate Flooring
1. The “Follow the Light” Rule
In the flooring world, the most widely accepted rule of thumb is to lay your planks parallel to the primary light source. When light enters through a large window, it travels across the room in a straight line.
If your laminate planks are laid in the same direction as that light, the rays wash over the length of the boards. This creates a smooth, elongated look that highlights the natural wood grain and texture.
Why it works:
-
Hides Seams: No matter how high-quality your laminate is, there will always be a tiny seam where two planks meet. If the light hits these seams perpendicularly (at a 90-degree angle), it creates tiny shadows, making the joints more visible. Running them parallel to the light minimizes these shadows for a flatter, more uniform appearance.
-
Accentuates Depth: This orientation draws the eye toward the window and the view beyond, making the room feel more connected to the outdoors.
2. Balancing Light with Room Shape
While “following the light” is the gold standard, we also have to consider the shape of your room. In many Thousand Oaks or Simi Valley homes, you might have a long, narrow room with a window at the far end.
-
If the room is long and narrow: You should almost always lay the planks along the length of the room. If your window is on the short wall, the “light rule” and the “room shape rule” align perfectly.
-
If the window is on the long wall: This is where it gets tricky. If you lay the planks parallel to the window (across the width of the room), it will make the room feel wider, which is great for “boxed-in” spaces. However, you will see more seams in the sunlight. In this scenario, we usually recommend prioritizing the length of the room to ensure a classic, high-end flow.
3. Managing “Sun-Fade” and Heat Expansion
Large windows in Bakersfield or Santa Maria mean two things: intense UV rays and heat. Laminate flooring is a “floating floor,” meaning it expands and contracts with temperature changes.
-
Expansion Gaps: When installing near a large window that gets direct afternoon sun, your 3/8-inch expansion gap is non-negotiable. The floor will grow as it heats up. Without that gap behind your baseboards or transition strips, the floor could buckle.
-
UV Resistance: Fortunately, modern laminate is incredibly UV-resistant compared to hardwood. However, if your window doesn’t have a UV coating, consider using area rugs or window treatments during peak heat hours to ensure the color stays vibrant for the next 50 years.
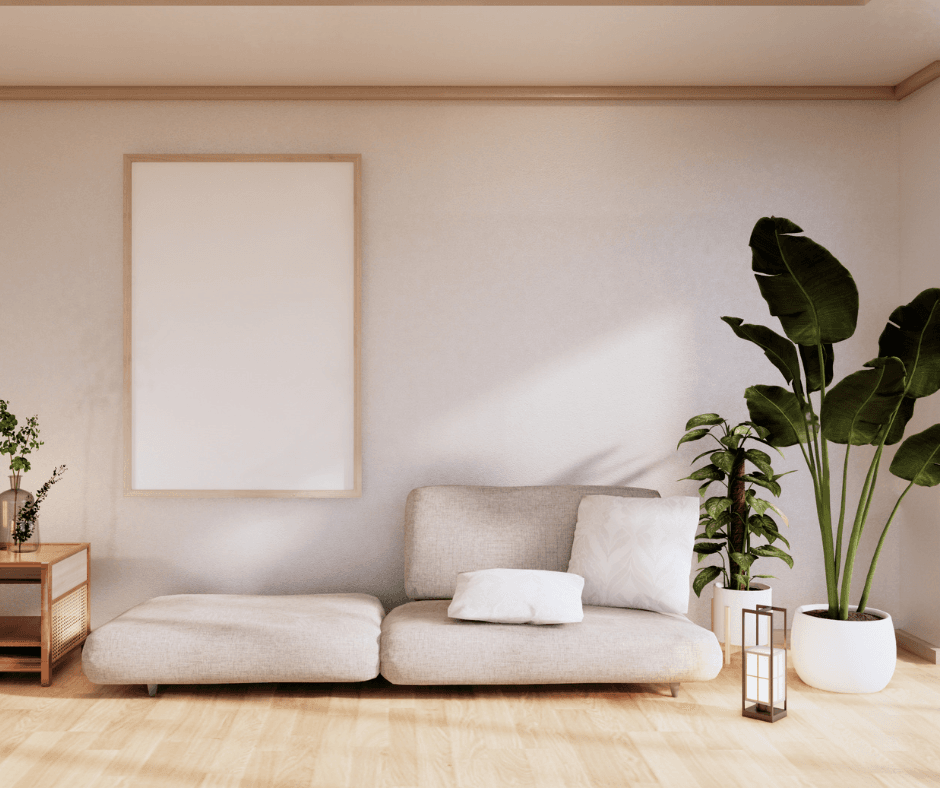
4. The Impact of Texture and Sheen
Because your large window will be highlighting the floor, the type of laminate you choose matters.
-
Matte vs. Gloss: High-gloss laminate near a big window can create a “glare” that is distracting and shows every footprint or speck of dust. At Flooring 101, we often recommend matte or satin finishes for sun-drenched rooms.
-
EIR (Embossed-in-Register): As we’ve mentioned in previous blogs, EIR texture looks spectacular in natural light. The sun catches the physical grooves of the “wood,” adding a 3D depth that makes the floor look like authentic, expensive timber.
5. Installation Tip: Start at the Focal Point
When laying out your first row, don’t just start at the easiest wall. Start your planning at the window. Measure the width of your room and divide it by the width of your planks.
You want to make sure you don’t end up with a tiny, one-inch “sliver” of a plank right in front of your beautiful window. If the math shows a tiny sliver at the end, “rip” (cut) your first row of boards so that the planks on both sides of the room are roughly the same width.
This creates a balanced, professional look that frames your window perfectly.
Need a Professional Eye? Flooring 101 is Your Window to a Better Home
Large windows are a gift to any interior, and with the right flooring layout, you can turn that natural light into your home’s best design feature. By running your laminate parallel to the sun’s path and ensuring proper expansion gaps, you’ll create a space that feels bright, expansive, and “California-cool.”
Need a Professional Eye? If you aren’t sure which direction will look best in your specific layout, come talk to the experts. Flooring 101 has been serving Ventura and Santa Barbara Counties for five decades. We’ve seen every room shape and window configuration imaginable!
Visit us in Oxnard, Ventura, Bakersfield, Goleta, Thousand Oaks, Santa Maria, or Simi Valley. We offer free in-home estimates where we can look at your light sources and provide a tailored recommendation!